

If you know me very well, you know about my penchant for planting a large garden and starting it from seeds. I’ve been toying with the idea of buying a polytunnel for a long time but talked myself out of it due to the price.
I did a lot of research and discovered a portable polytunnel with good reviews that was well within my budget. It came in a neatly packaged box and was so easy to put together .

First, decide where you want the polytunnel to sit. Then, unbox everything and spread it out. Once you locate all the pieces, begin assembling the frame. It’s best to assemble it where you want it to be.
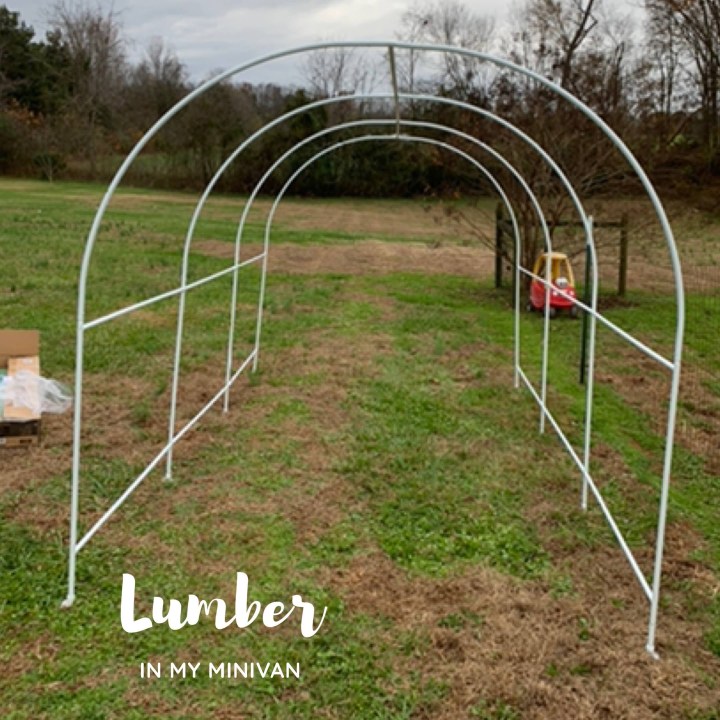
Once your frame is up, decide how you want to secure it. They include anchors but these anchors are no match for a Carolina wind storm. Some people use t posts to anchor it. We chose to build a small wood foundation and anchor the frame with metal straps. I’ll post a picture of that later.

Getting the cover lined up correctly can be tricky. Line up your cover and then secure it. It should fit tight but not so tight you can’t zip the doors closed.
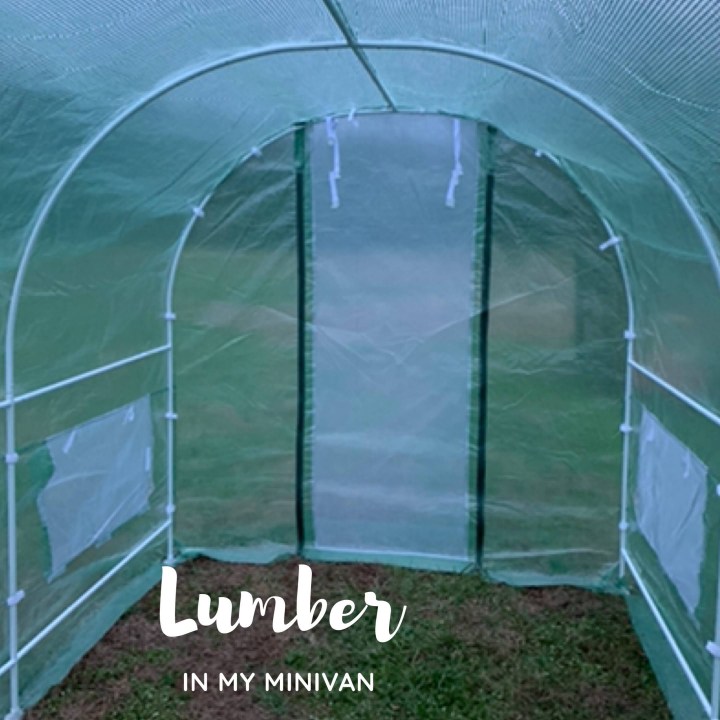
This is what it looks like inside. We are far from done. We have just finished the wood foundation and used a stable mat for the floor. Soon, we will be adding shelves.
We hope you have enjoyed part one of our greenhouse tour. We will show you the finished product next week.


Leave a comment