
I tried a thing, and it didn’t work. I tried to build some box shelves for my bathroom, but I really wasn’t getting the desired result. So instead of wasting $40 I spent on lumber, I decided to repurpose it. I used two boards to make pipe shelves in our bathrooms (which I will show you soon), but then I had all these other boards.
I have been crushing on those simple stained wood planters that people use as centerpieces, and fill with all sorts of seasonal goodies. So I decided to give it a go.
To make a planter box, you will need:
1 1X6 board, at 34 inches long
2 1X4 boards, at 36 inches long
2 1×4 boards cut at 6 inches long
Wood screws
Drill bits and drill
Screwdriver/ phillips drill head for power drill
Wood glue
Wood stain in your desired color. I chose Minwax Dark Walnut
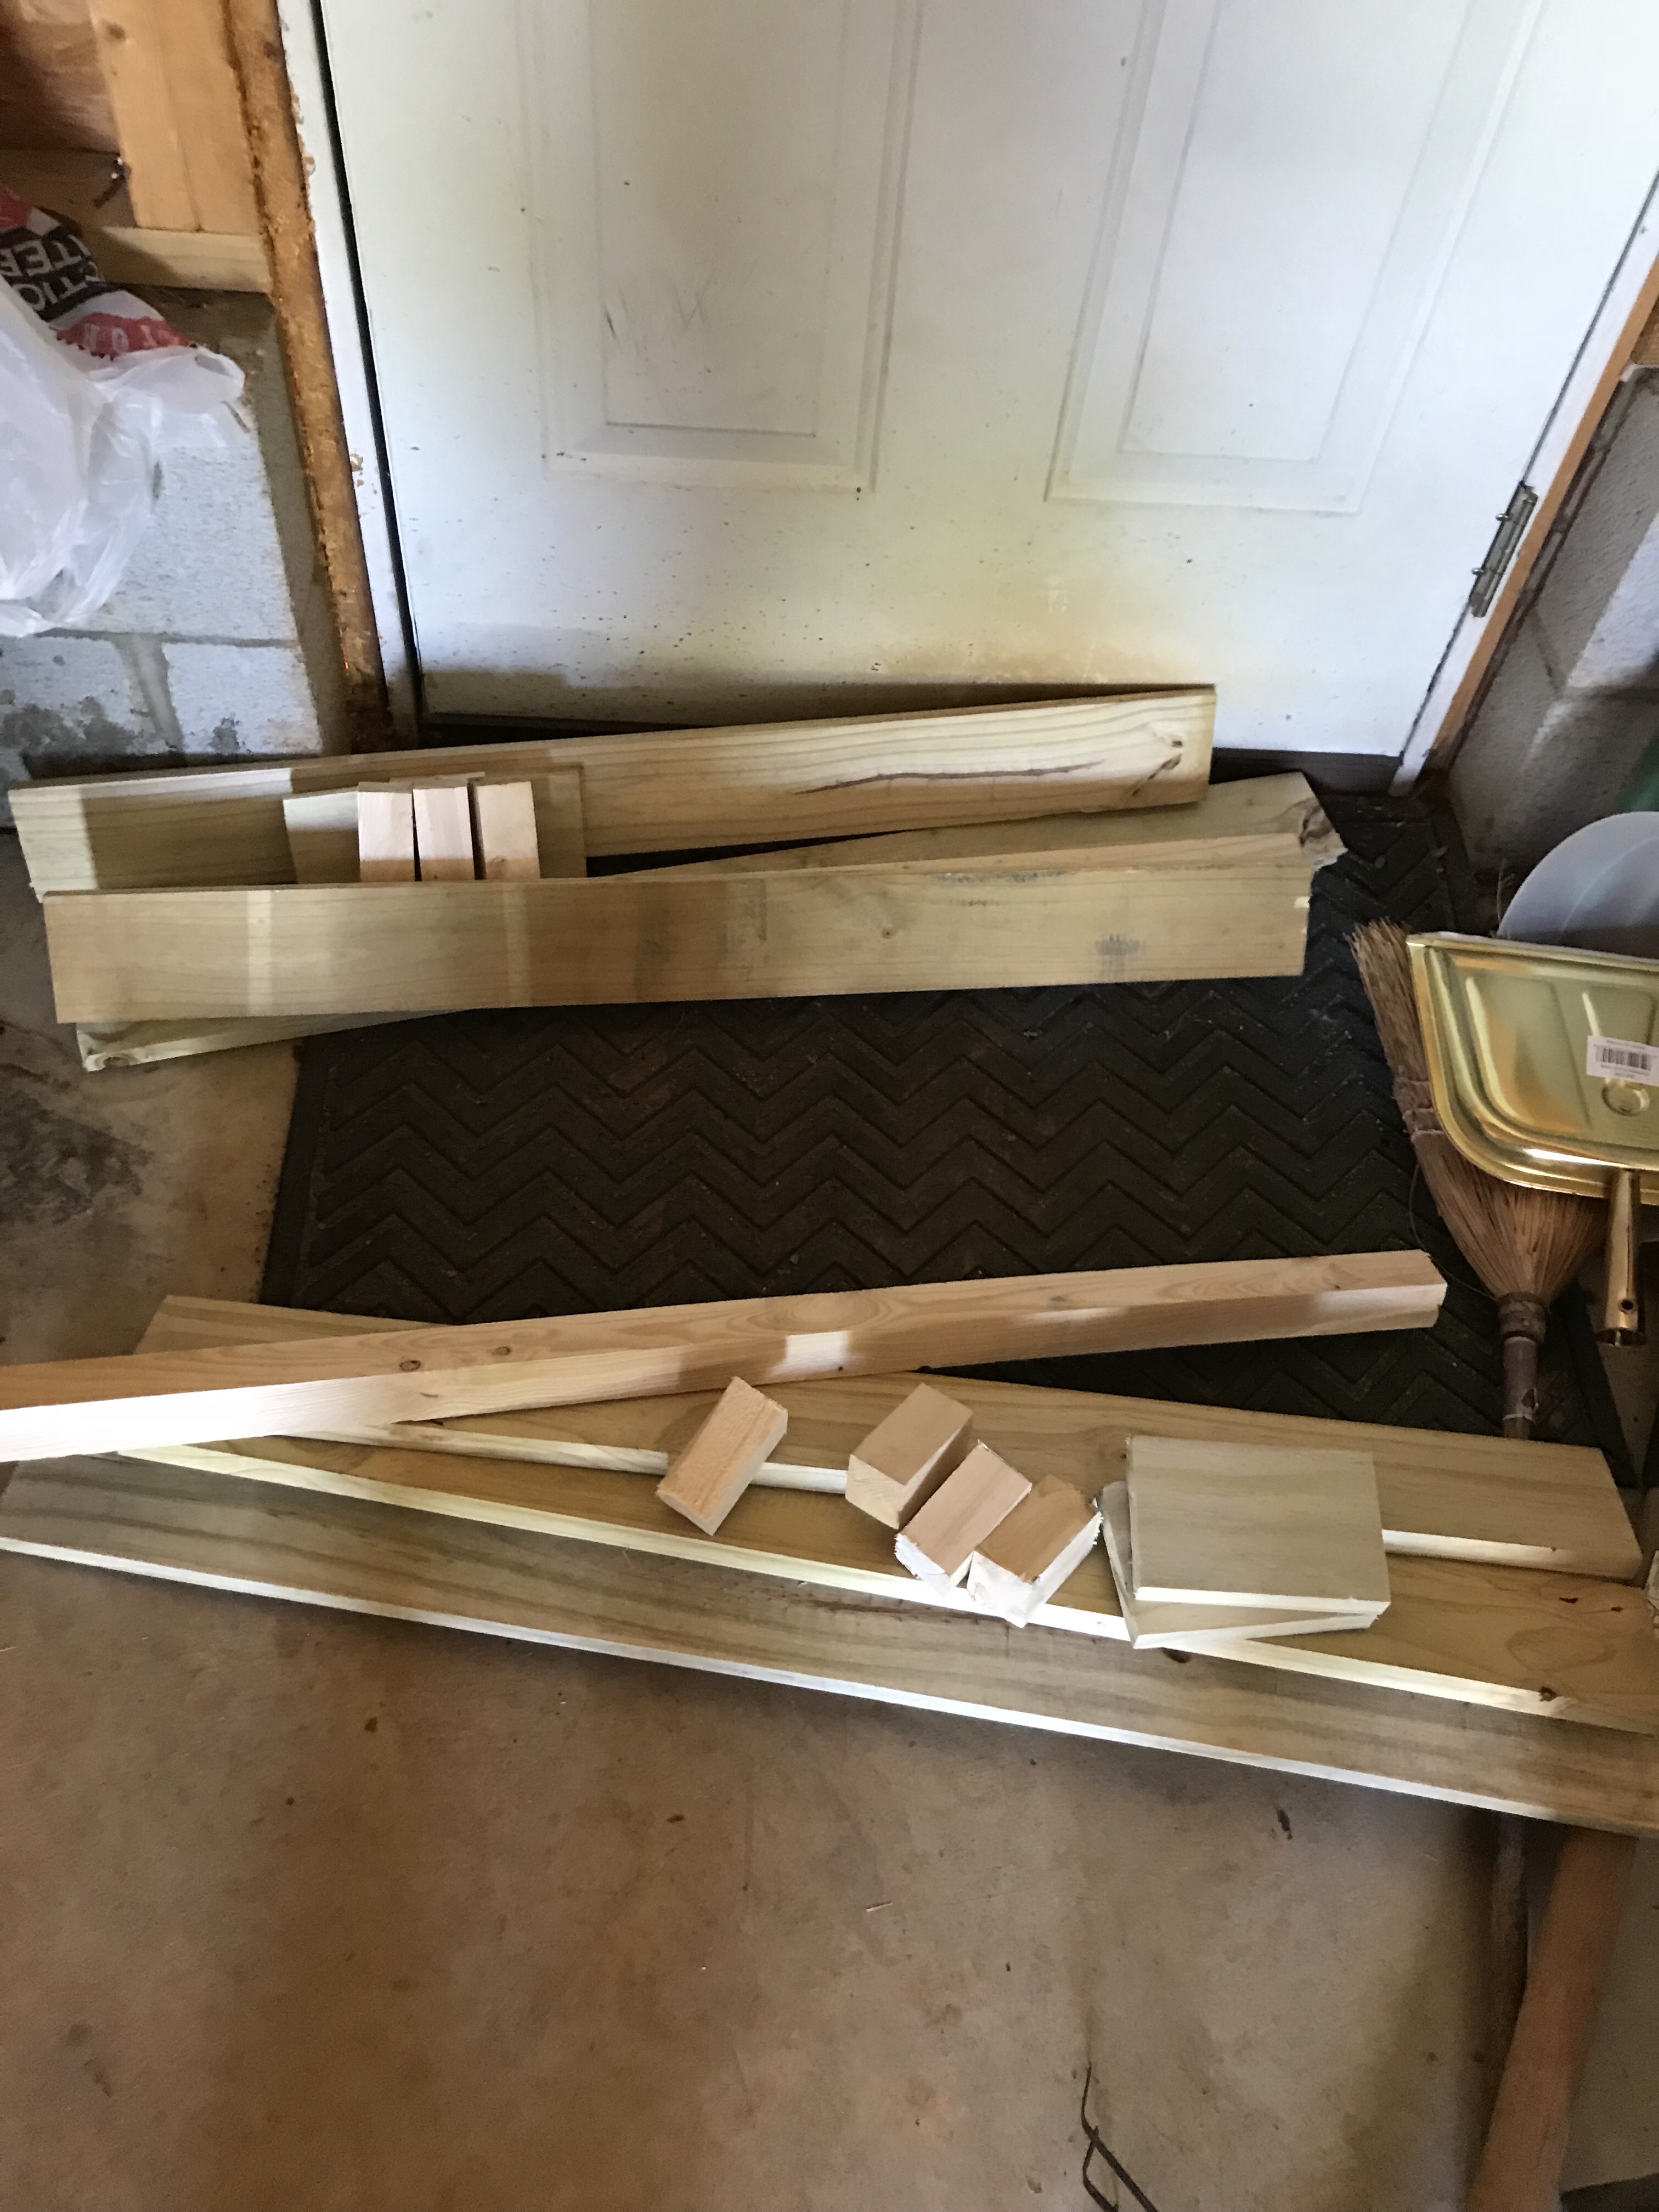
My first step was to lay out my materials and make sure I had everything I needed.

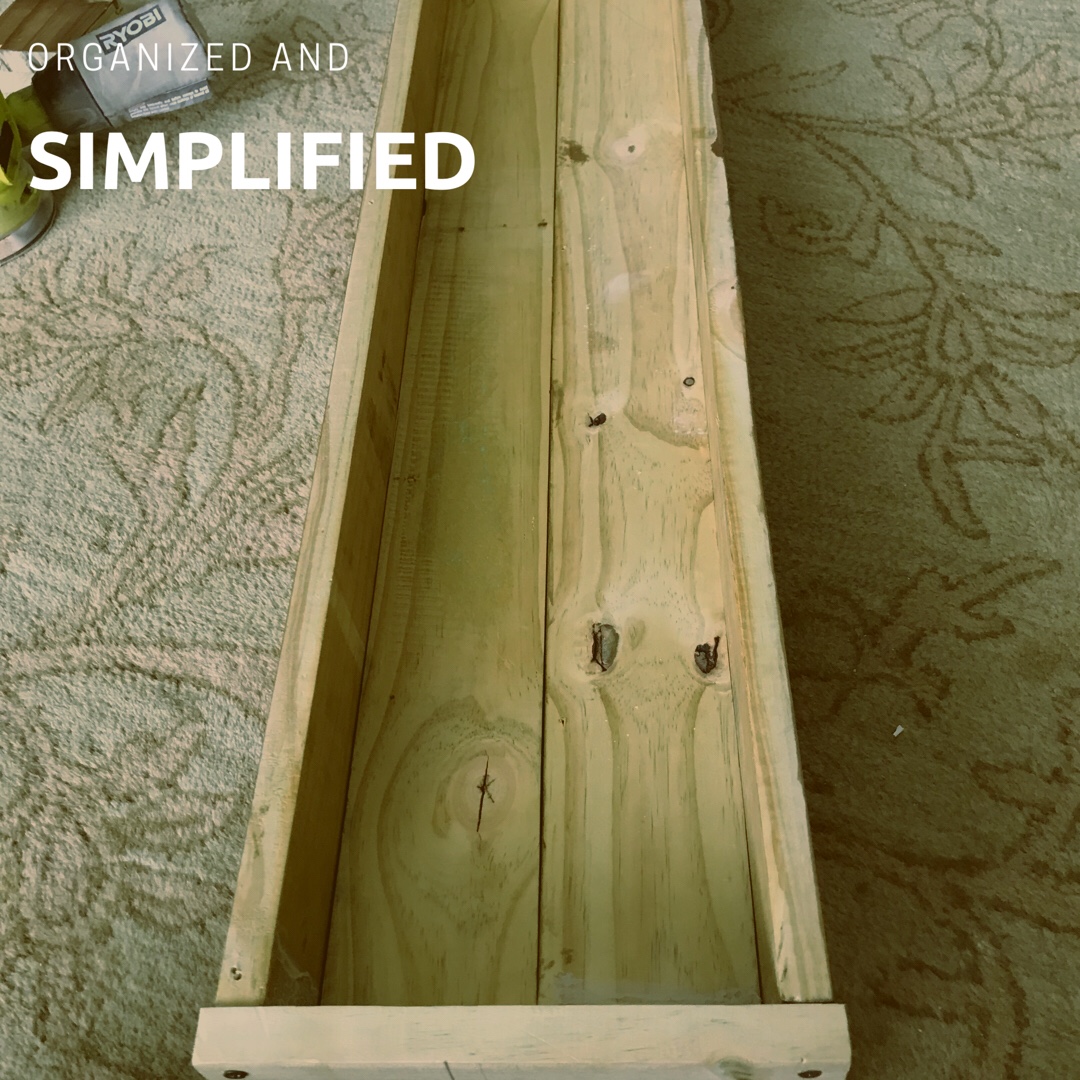
I then began attaching my 36 inch 1X4s to the sides of the 1X6 board. This will create a box with open sides.

Next, I closed in the open sides with the two six-inch 1×4 boards.
If you have any nicks, holes, or splits, you can fill them in with wood filler. I wanted a rustic look, so I didn’t fill in a lot of the holes. I wanted it to be a little beat up.
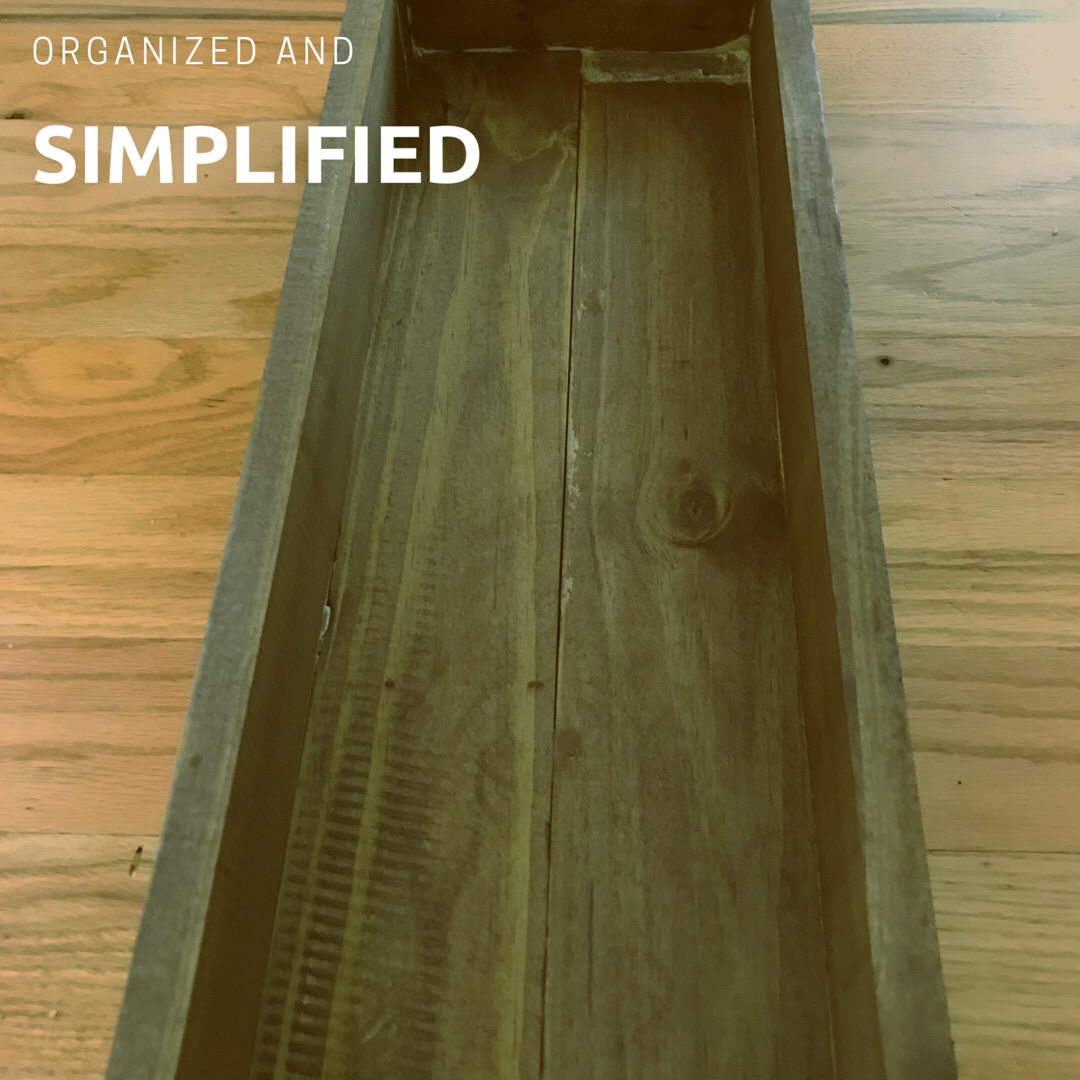
Next, I stained my little planter box. I used Minwax Dark Walnut and I applied two coats, with 24 hours drying time between the coats of stain.
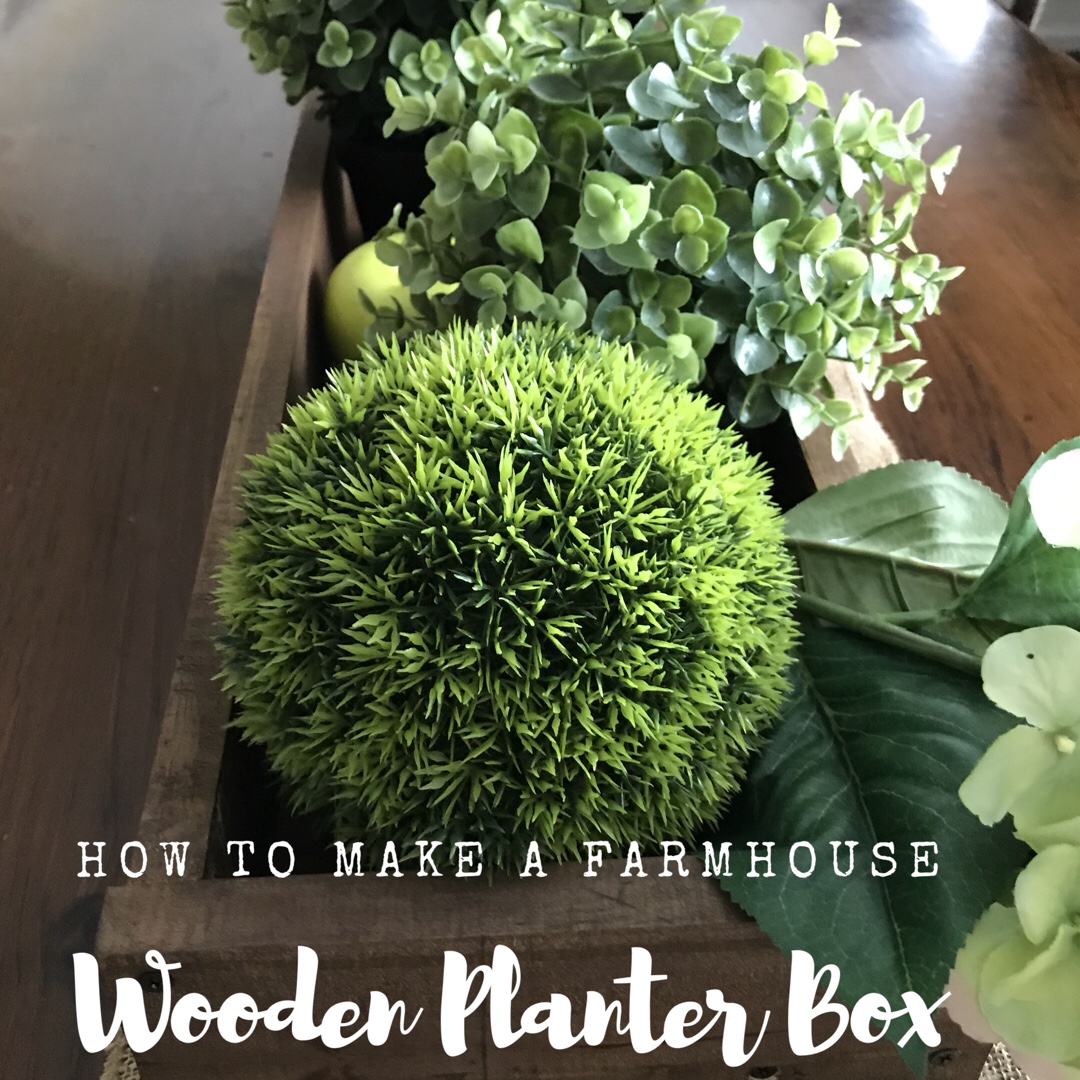
After letting my box dry completely, I discovered it was the perfect length and width for my dining table.

I filled it with boxwood plants, green hydrangeas, boxwood spheres and green apples.

And then I hit up Pinterest to drool over all the pretty ways people decorate these wooden planter boxes.
Take a gander:

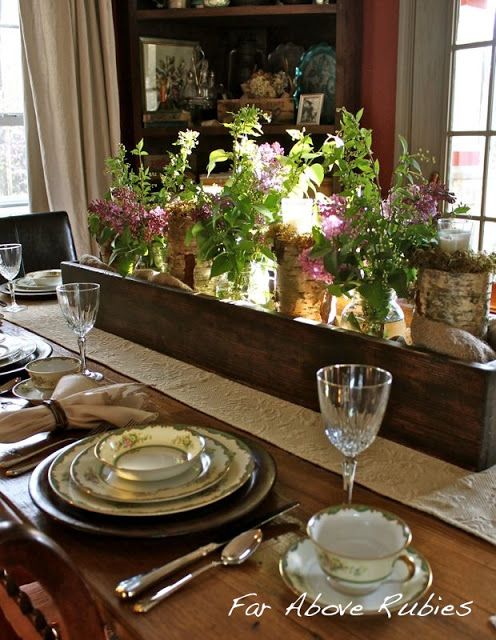
How cute is this planter with the white mason jars and greenery? So simple and so pretty!! I may steal this idea for my own home.

Here is a cute Christmas idea that you could use all winter long. I love the icy branches and pine cones up against the wood stain.

Here’s another super cute Christmas/Winter idea. Those candles and red berries are too cute.
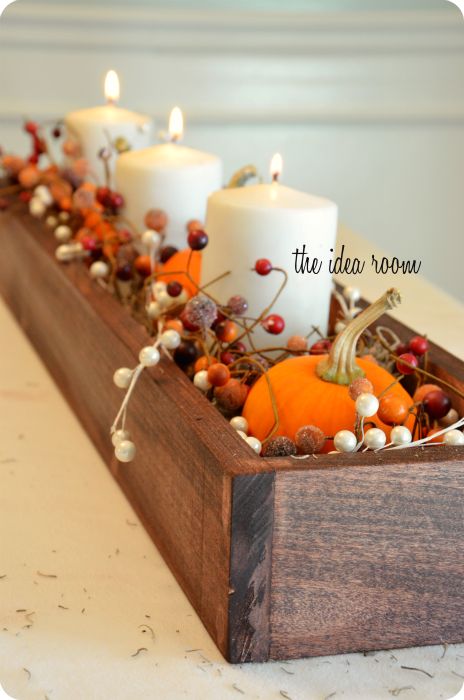
Since fall is right around the corner, I thought I’d share this beauty. I love the candles, the berries, the pumpkins…I love everything about it.

Here is a great spring or summer idea…are you noticing a pattern here? Florals, filler, and candles. Doesn’t get any better than that.
…Unless you put fresh blooms in it, of course. Isn’t this pretty?
If you make a farmhouse wooden planter box, what will you put in it? Comment below and share with me!


Leave a comment