Skip to content
Menu
Close
About me
Blog Series
Holiday projects
Press and Media
Printables
Wild Orchard Farms
Project Gallery
Craft Projects
House Projects and Home Improvements
Podcast
Category:
Woodwork
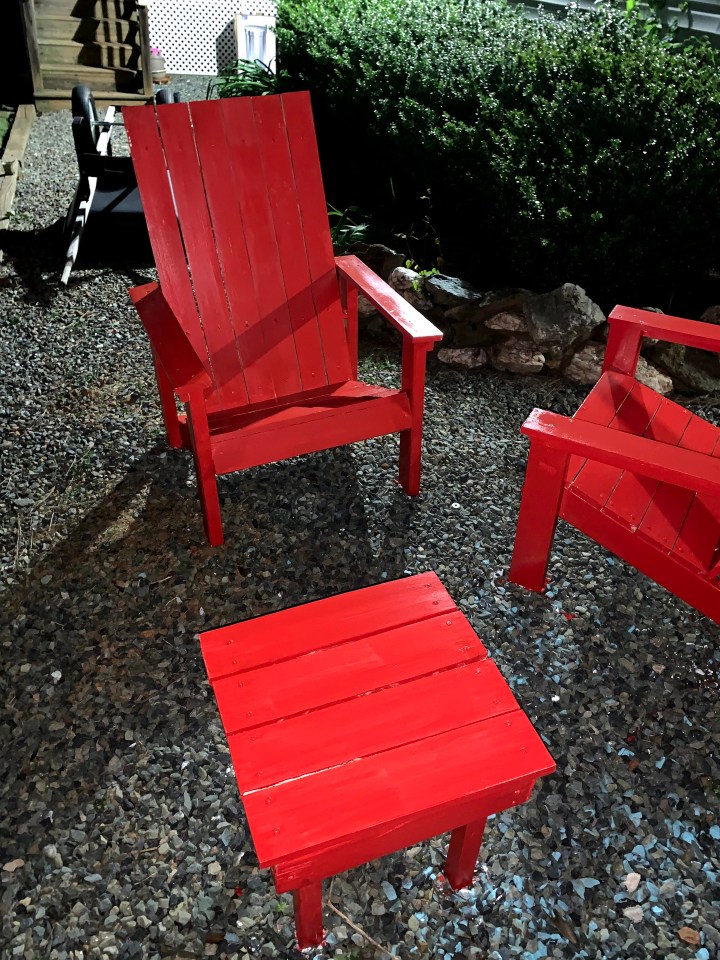
Scrap Wood Challenge: Adirondack Chairs
Four Farmhouse Projects
Privacy & Cookies: This site uses cookies. By continuing to use this website, you agree to their use.
To find out more, including how to control cookies, see here:
Cookie Policy
Subscribe
Subscribed
Lumber in My Minivan
Join 310 other subscribers
Sign me up
Already have a WordPress.com account?
Log in now.
Lumber in My Minivan
Subscribe
Subscribed
Sign up
Log in
Report this content
View site in Reader
Manage subscriptions
Collapse this bar